Ball Valve Installation Guidelines with Illustrations
Introduction
Proper installation of a ball valve is essential to ensure leak-free operation, long service life, and safe performance. Whether you are installing a manual, pneumatic, or electric-actuated ball valve, following the correct procedure prevents damage and operational issues. This guide outlines the key ball valve installation precautions, supported by step-by-step illustrations.
1. Check the Valve Before Installation
-
Inspect for damage: Check the body, stem, seats, and seals for cracks, scratches, or deformation.
-
Verify specifications: Ensure the pressure rating, size, and material match your piping system requirements.
-
Clean the valve: Remove any dust, debris, or protective grease before installation.
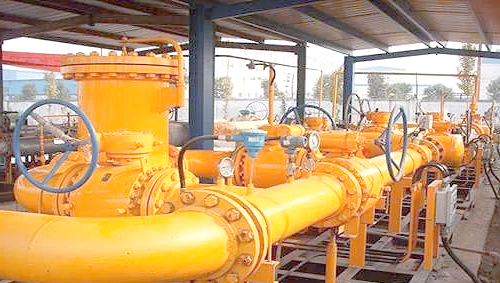
2. Prepare the Pipeline
-
Flush the pipeline: Remove welding slag, dirt, and foreign particles to avoid seat and ball damage.
-
Check alignment: The flanges or pipe ends should be aligned to prevent installation stress.
-
Support the pipeline: Use proper supports to avoid excess load on the valve body.
3. Install the Ball Valve Correctly
-
Flow direction: Follow the manufacturer��s arrow mark if the valve is unidirectional.
-
Gasket selection: Use the correct gasket type and size for the medium and pressure.
-
Torque tightening: Tighten bolts evenly in a crisscross pattern to ensure uniform sealing.
4. Avoid Common Mistakes
-
Do not use the valve as a lever or step platform.
-
Do not weld with the valve assembled��heat can damage the seats and seals.
-
Do not overtighten bolts or the gland nut, as this may cause stem seizure.
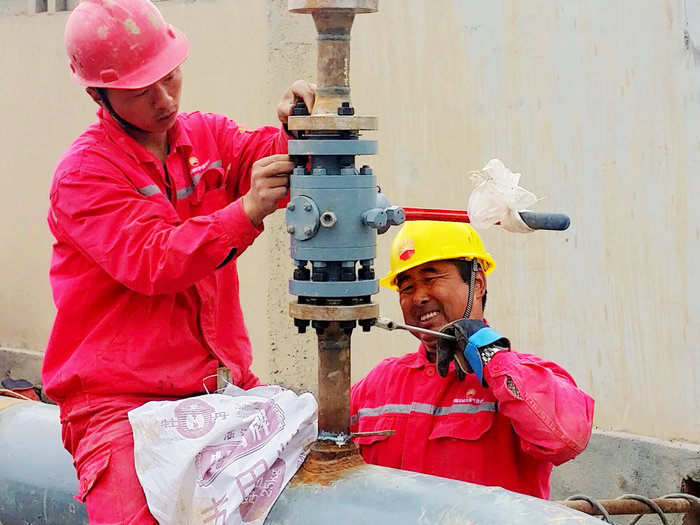
5. Perform a Function Test
-
Operate the valve fully open and closed to ensure smooth movement.
-
Check for leaks at the flange connections and stem packing.
-
If leaks occur, adjust gland packing slightly��do not overtighten.
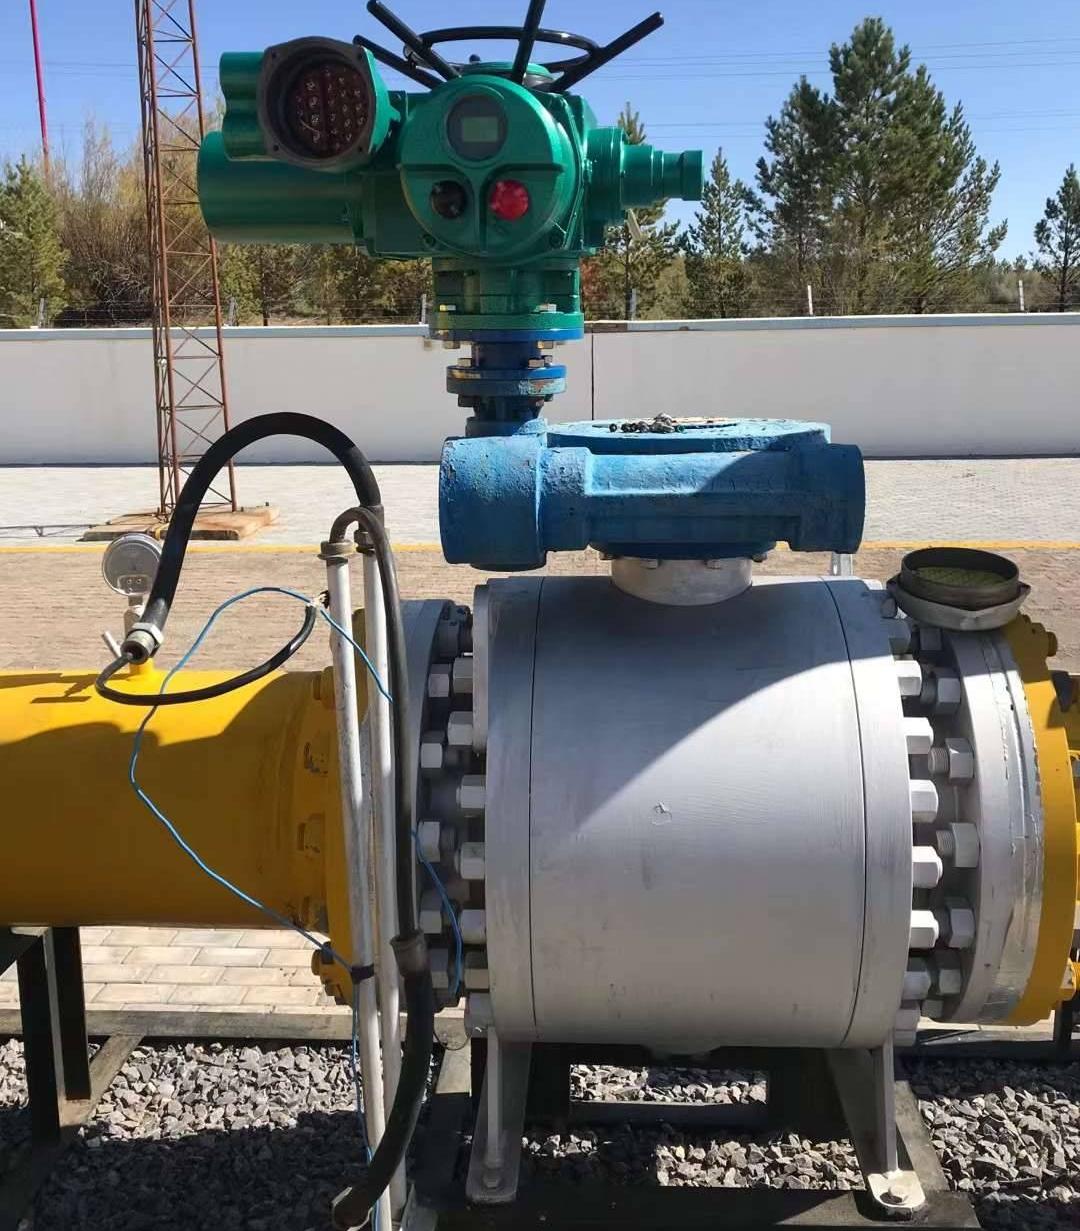
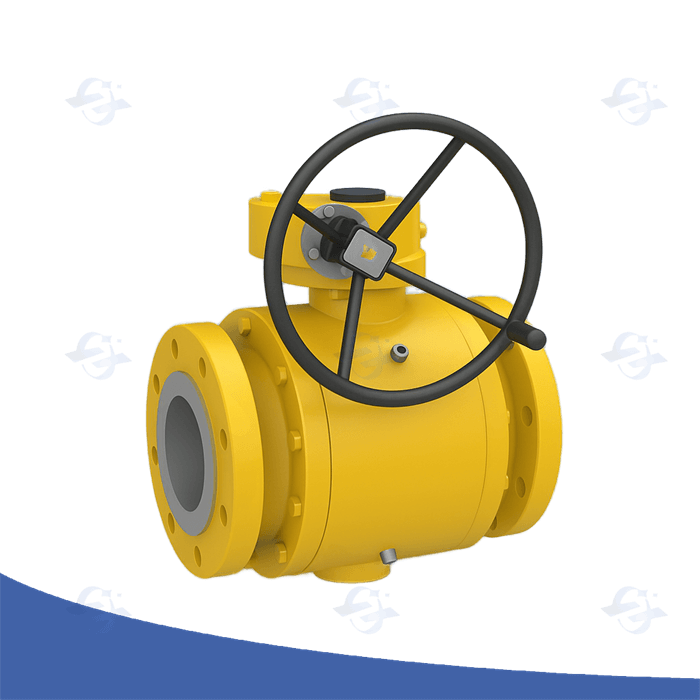
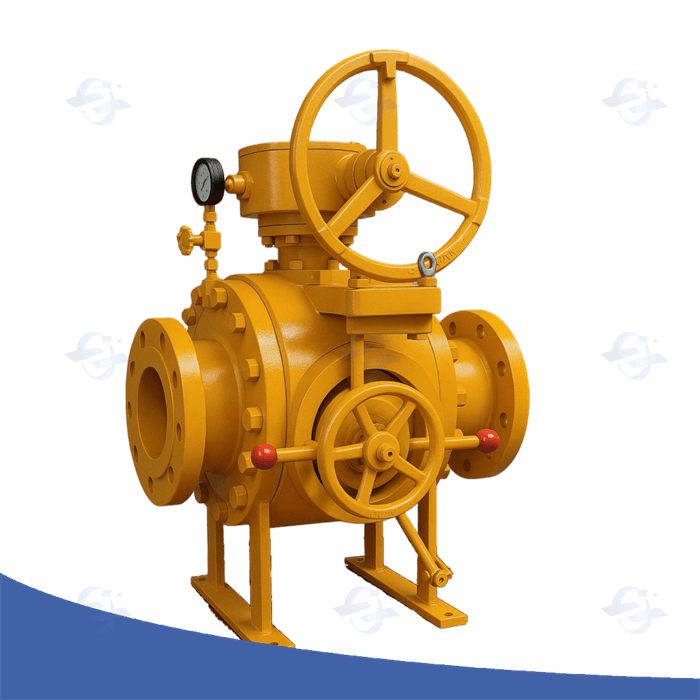
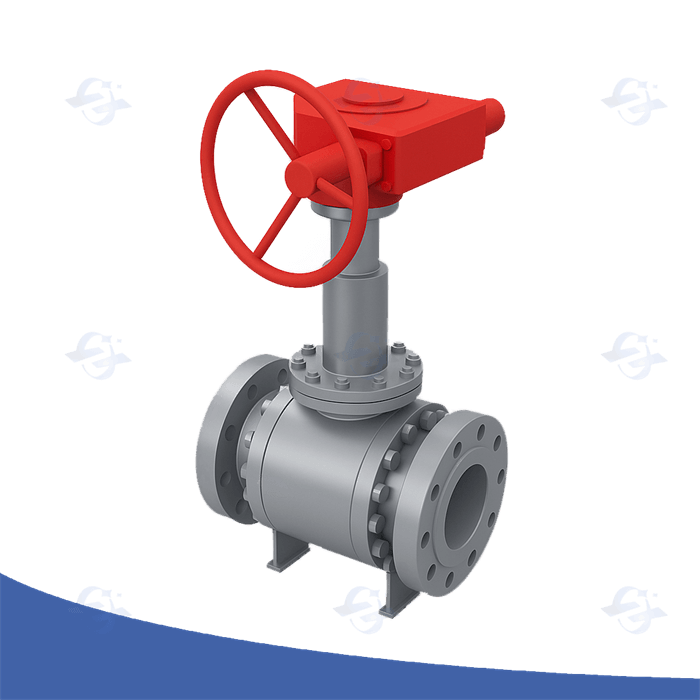
Illustration Guide:
-
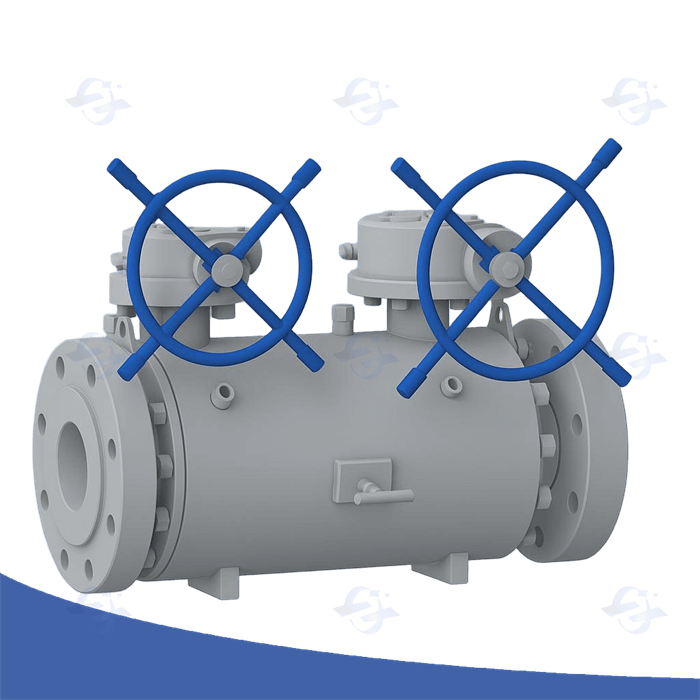
Valve inspection diagram �C highlighting seats, stem, and ball.
-
Pipeline preparation graphic �C showing flushing and alignment.
-
Installation sequence image �C bolt tightening order.
-
Flow direction arrows �C for unidirectional ball valves.
-
Final leak test illustration �C pressure testing setup.
Conclusion
Correct ball valve installation ensures long-term reliability and minimizes downtime. Always follow the manufacturer��s guidelines, use proper tools, and verify the system��s cleanliness before operation. When combined with regular maintenance, these precautions will extend the service life of your valve.
Keywords: ball valve installation guidelines, ball valve installation precautions, ball valve diagram, ball valve flow direction, pipeline valve installation steps, ball valve maintenance tips.